
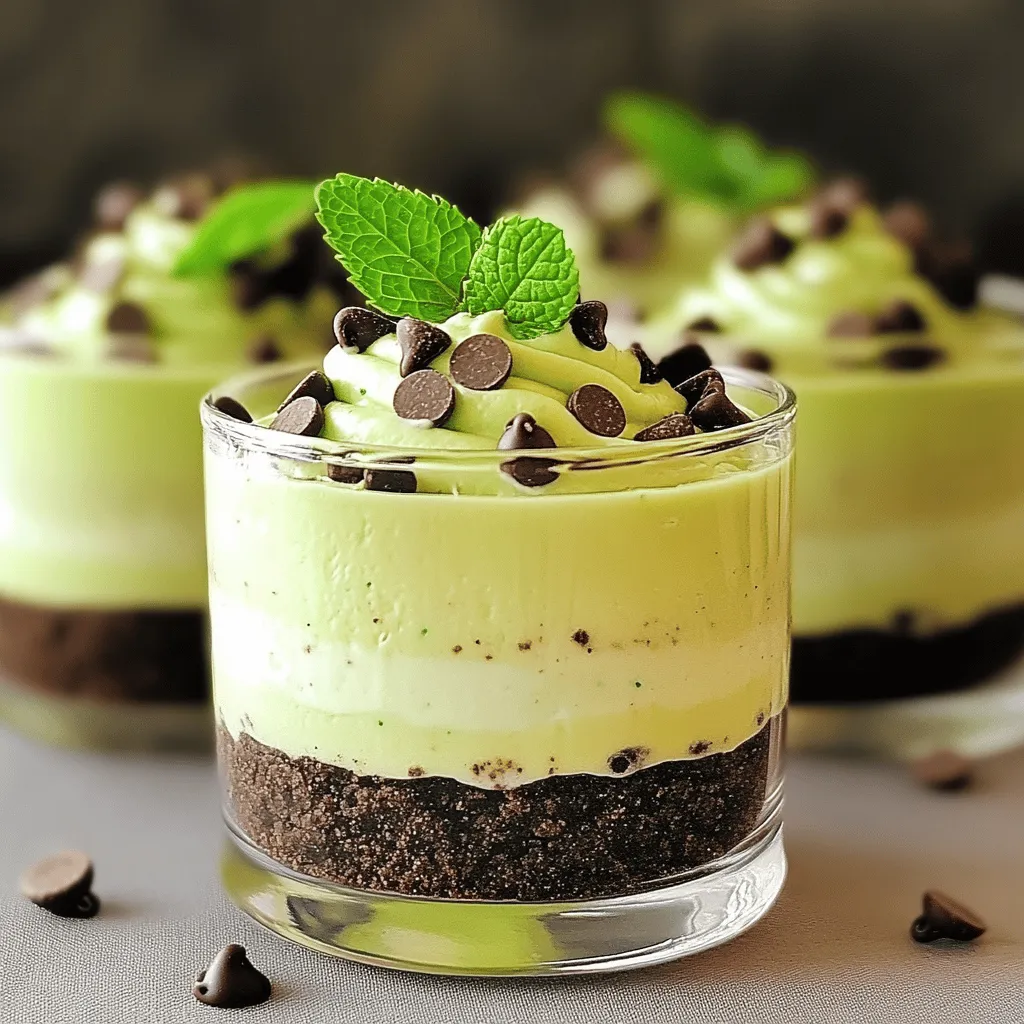
Craving a sweet treat without turning on the oven? You’ll love my No Bake Oreo Mint Cheesecake Cups! These easy-to-make cups blend creamy cheesecake and minty goodness with crunchy Oreo crust. Perfect for any occasion, they’ll impress your friends and family. Join me as I guide you through selecting the best ingredients, making the filling, and achieving that perfect texture. Let’s dive into this delightful dessert adventure together!
Why I Love This Recipe
- Easy to Make: This no-bake recipe requires minimal effort and can be whipped up in just 20 minutes, making it perfect for quick desserts.
- No Oven Required: With this recipe, you can enjoy a delicious cheesecake without the need to heat up your kitchen.
- Minty Fresh Flavor: The addition of peppermint extract gives this cheesecake a refreshing twist that pairs perfectly with the chocolatey Oreo crust.
- Customizable: You can easily adjust the ingredients, such as adding different toppings or using various types of cookies for the crust.
Ingredients
Complete list of ingredients
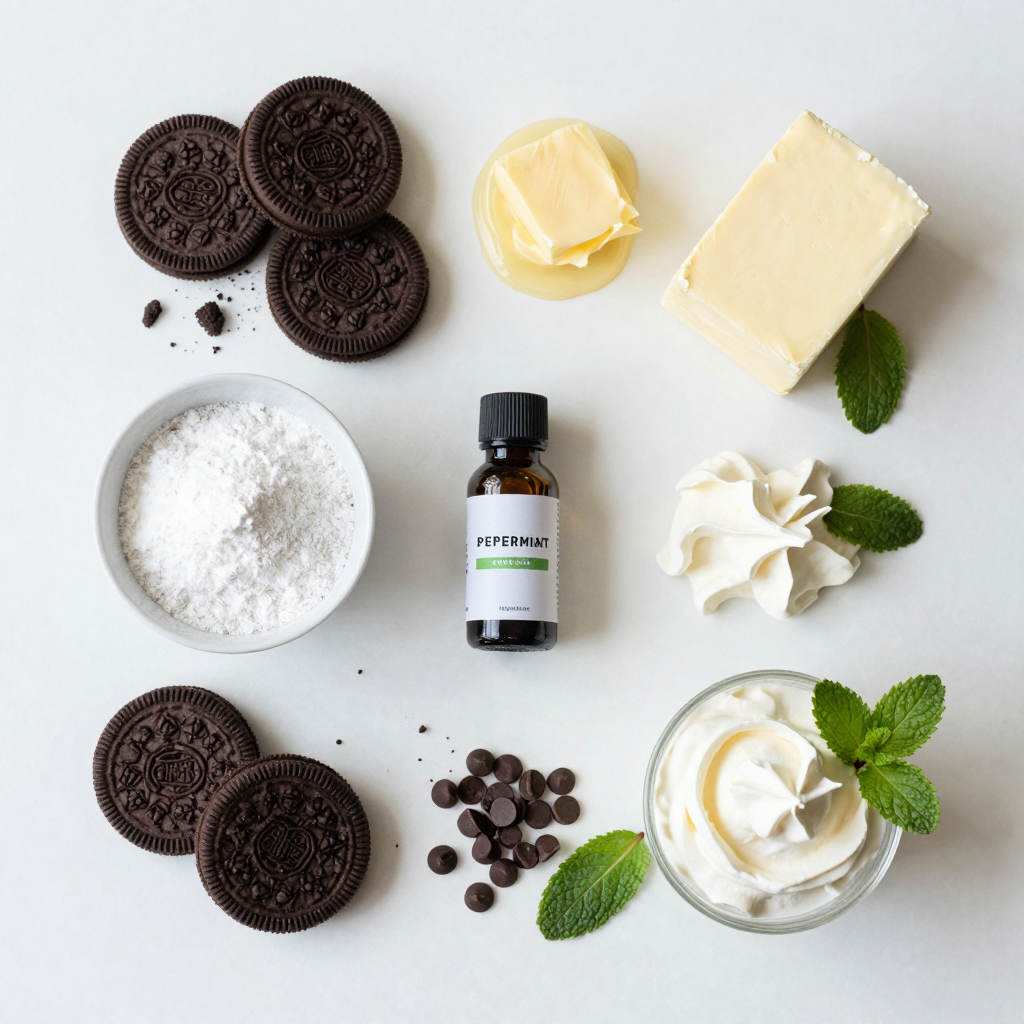
To make No Bake Oreo Mint Cheesecake Cups, gather these items:
– 1 package of Oreo cookies (about 15 cookies), crushed
– 4 tablespoons unsalted butter, melted
– 1 cup cream cheese, softened
– 1 cup powdered sugar
– 1 teaspoon peppermint extract
– 1 cup whipped topping (Cool Whip)
– 1/2 cup mini chocolate chips
– Extra Oreo crumbs for garnish
– Mint leaves for decoration
Substitutes for key ingredients
If you don’t have some items, here are alternatives:
– Use gluten-free cookies instead of Oreos for a gluten-free option.
– Swap cream cheese with dairy-free cream cheese for a dairy-free treat.
– You can use granulated sugar if you lack powdered sugar. Just blend it well.
– For a lighter option, use Greek yogurt in place of whipped topping.
Tips for selecting high-quality ingredients
Choosing the best ingredients makes a big difference. Here’s what to look for:
– Select fresh, soft cream cheese. It should be smooth and blend easily.
– Pick Oreos that are not stale. Stale cookies will ruin the crust.
– Choose pure peppermint extract for a strong mint flavor. Avoid imitation.
– Select mini chocolate chips that are semi-sweet for a balanced taste.
– Fresh mint leaves should be bright green and not wilted or brown.
Step-by-Step Instructions
Preparing the Oreo crust
To start, you need to crush the Oreo cookies. Take about 15 cookies and place them in a bowl. Use a rolling pin or your hands to crush them into fine crumbs. Next, melt 4 tablespoons of unsalted butter. Pour the melted butter into the bowl with the crumbs. Mix them well until all the crumbs are coated. This mix will be your crust.
Now, take your serving cups. Spoon about 2 tablespoons of the Oreo mixture into the bottom of each cup. Press down firmly to form a nice crust. Make sure it is compact and even. This base will hold your cheesecake filling.
Mixing the cheesecake filling
In a different bowl, take 1 cup of softened cream cheese. Use an electric mixer to beat it until it is smooth. This step is key for a creamy texture. Once it is creamy, add 1 cup of powdered sugar and 1 teaspoon of peppermint extract. Mix these until they blend well.
Now, gently fold in 1 cup of whipped topping. This makes the filling light and fluffy. Stir until it is smooth and creamy. Finally, add in 1/2 cup of mini chocolate chips. Make sure they are spread evenly throughout the mixture.
Assembling the cups
Now it’s time to put it all together. Take the cheesecake filling and spoon it over the Oreo crusts in each cup. Fill them to the top for a nice look. Once filled, place the cups in the refrigerator. Let them chill for at least 2 hours. This will help the cheesecake set properly.
Before you serve, sprinkle some extra Oreo crumbs on top. Add a mint leaf for decoration. This makes the cups look fresh and inviting. Enjoy your delightful Oreo mint cheesecake cups!
Pro Tips
- Use Room Temperature Cream Cheese: This ensures a smoother cheesecake filling without lumps.
- Chill for Longer: For a firmer texture, consider chilling the cheesecake cups for 4 hours instead of 2.
- Customize Your Garnish: Feel free to add crushed peppermint candies or chocolate shavings for extra flavor and visual appeal.
- Make Ahead: These cheesecake cups can be prepared a day in advance, making them perfect for parties or gatherings.
Tips & Tricks
How to achieve the perfect cheesecake consistency
To get the right creamy texture, use softened cream cheese. This helps it blend well. Beat it until smooth before adding other ingredients. Mix in powdered sugar slowly. This keeps the air in the mix. When folding in whipped topping, do it gently. This keeps your mixture light and fluffy.
Storing leftovers for freshness
If you have extras, store them in the fridge. Use an airtight container to keep them fresh. Make sure to cover the tops with plastic wrap. This helps avoid drying out. They stay tasty for about 3-4 days. Just remember to add fresh toppings right before serving.
Common mistakes to avoid
One common mistake is not softening the cream cheese. This can lead to lumps in your filling. Another mistake is over-mixing the whipped topping. This can deflate the mix, making it less fluffy. Lastly, don’t skip refrigerating the cups long enough. They need time to set so they hold their shape.
Variations
Chocolate Oreo Mint Cheesecake Cups
You can add rich chocolate to your Oreo mint cheesecake cups. Simply mix in 1/4 cup of cocoa powder when blending the cream cheese and sugar. This gives the filling a deep chocolate flavor. You can also use chocolate sandwich cookies instead of regular Oreos. This twist makes every bite even more delicious.
Gluten-free version options
To make these cups gluten-free, use gluten-free Oreo cookies. They taste just as great as regular Oreos. Make sure to check the labels for gluten-free options. The rest of the ingredients are usually gluten-free. This way, everyone can enjoy this treat without worry.
Adding additional toppings and flavors
Get creative with your toppings! You can add mini chocolate chips on top for extra crunch. Crushed peppermint candies or sprinkles can add bright color and fun. You might also try a drizzle of chocolate sauce for more sweetness. Fresh fruit, like raspberries or strawberries, adds a nice tartness. These fun additions let you personalize each cup!
Storage Info
Best practices for refrigeration
To keep your Oreo mint cheesecake cups fresh, always store them in the fridge. Use an airtight container to prevent odors from mixing. If you don’t have a container, cover the cups tightly with plastic wrap. Make sure they sit flat to avoid spills. Storing them properly keeps the creamy texture intact.
Freezing options and guidelines
You can freeze these cheesecake cups if you want to save some for later. First, cover each cup with plastic wrap. Then, place them in a freezer-safe container. They can last up to two months in the freezer. When you’re ready to eat, take them out and let them thaw in the fridge overnight. Avoid refreezing after thawing.
How long the cheesecake cups will last
In the fridge, these cheesecake cups last for about 5 days. If you notice any change in smell or texture, it’s best to toss them. If frozen, they can stay tasty for two months. This makes them a great make-ahead treat for parties or gatherings.
FAQs
Can I use other cookies instead of Oreos?
Yes, you can! Try using chocolate wafer cookies for a similar taste. If you want a twist, vanilla cookies work too. Just crush them the same way you do Oreos. The flavor will change, but the fun will stay the same.
How can I make it dairy-free?
To make it dairy-free, swap regular cream cheese for a dairy-free version. Use coconut cream or a nut-based cream cheese. For whipped topping, find a dairy-free whipped topping. This way, you can still enjoy the mint cheesecake cups without dairy.
What to do if the cheesecake doesn’t set properly?
If your cheesecake is too soft, it’s often due to not chilling long enough. Make sure to refrigerate the cups for at least 2 hours. If they still don’t set, try adding more whipped topping. This can help thicken the mixture a bit more.
You learned how to make tasty cheesecake cups. We covered all the key ingredients and tips for quality. I shared step-by-step instructions to make your cups perfect. We explored fun variations and how to store your treats. Remember common mistakes to get the best results. Enjoy experimenting with different flavors, and don’t hesitate to try new ideas. Cheesecake cups are simple, sweet, and fun. I hope you create your own delicious treats and share them with friends!


