
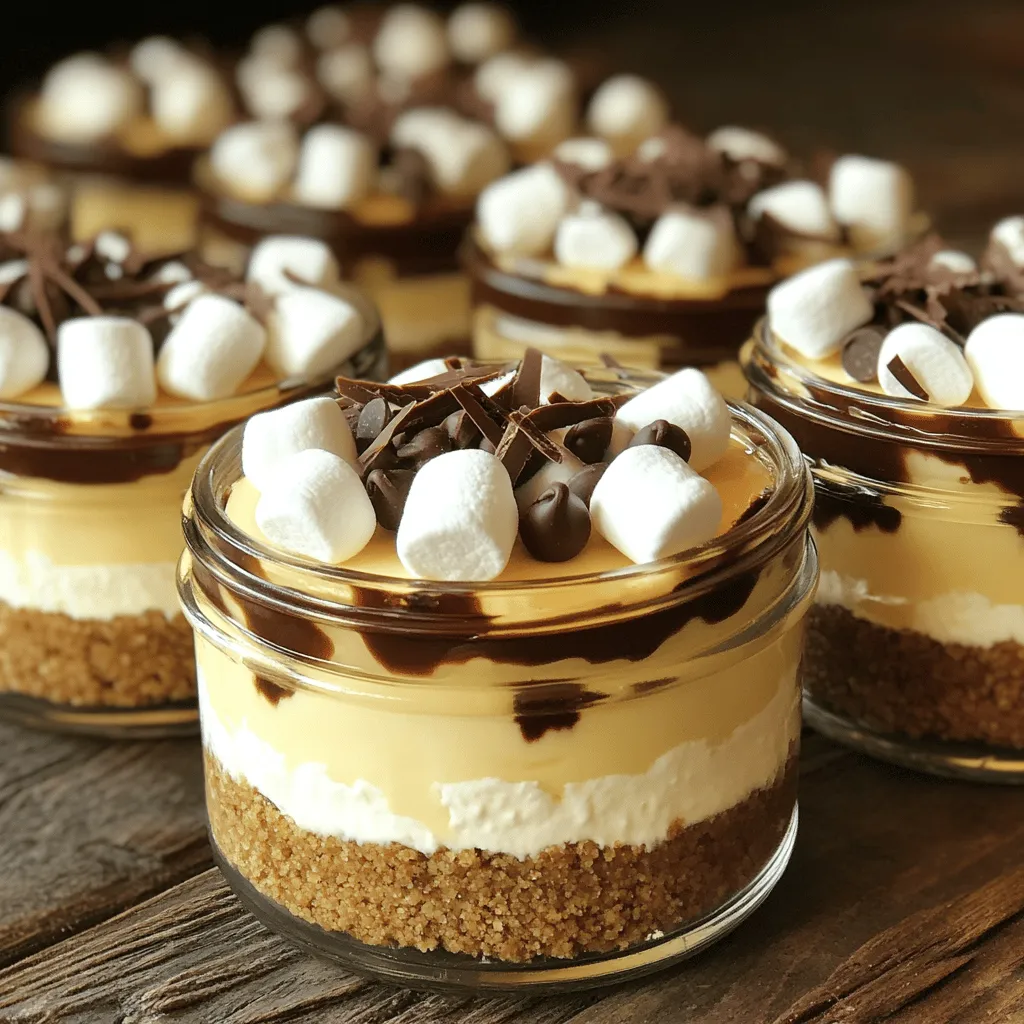
Indulge in a sweet treat that’s as easy as it is delicious! My S’mores No Bake Cheesecake Jars combine creamy cheesecake and classic s’mores flavors without firing up the oven. With just a handful of simple ingredients and straightforward steps, you’ll create a dessert that dazzles and delights. Ready to impress your friends and family? Let’s dive into this simple, tasty treat that brings a campfire classic right to your kitchen!
Why I Love This Recipe
- Decadent Flavor: This no-bake cheesecake jars combine the rich creaminess of cheesecake with the classic flavors of s’mores, creating a delightful dessert that everyone loves.
- No Baking Required: Perfect for hot summer days or when you’re short on time, this recipe requires no oven, making it a hassle-free option for dessert.
- Individual Servings: Serving these desserts in jars makes them perfect for parties or gatherings, allowing everyone to have their own personal treat.
- Customizable Toppings: You can easily switch up the toppings with your favorite chocolates or add different flavors of whipped cream to suit your taste!
Ingredients
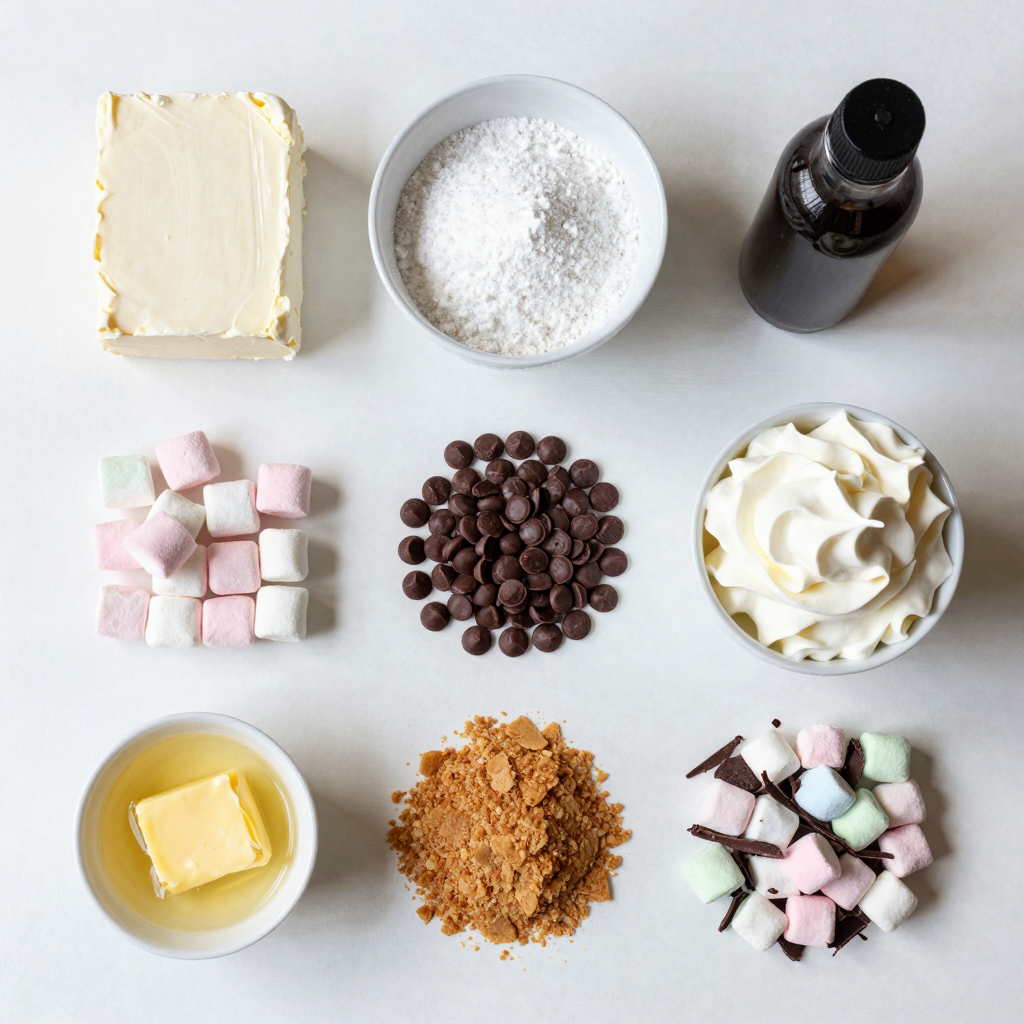
To make S’mores No Bake Cheesecake Jars, you need a few key ingredients. Each one adds a special touch to the dish. Here’s the complete list:
– 8 oz cream cheese, softened
– 1/2 cup powdered sugar
– 1 teaspoon vanilla extract
– 1 cup heavy whipping cream
– 1 cup graham cracker crumbs
– 1/2 cup mini marshmallows
– 1/2 cup chocolate chips (milk or dark)
– 1/4 cup melted butter
– Additional mini marshmallows and chocolate shavings for topping
Cream cheese gives the cheesecake its rich and creamy base. Powdered sugar sweetens it just right. Vanilla extract adds a warm flavor that ties it all together. Heavy whipping cream makes the filling light and fluffy.
Graham cracker crumbs form the crunchy crust. They give a nice texture and flavor. Mini marshmallows and chocolate chips provide that classic s’mores taste. Melted butter helps hold the crust together.
For toppings, add mini marshmallows and chocolate shavings. They make your jars look extra special. Each ingredient plays a role in creating a fun and tasty dessert. Enjoy gathering these items and let’s get started!
Step-by-Step Instructions
Preparation of the Crust
First, grab a bowl. Add the graham cracker crumbs and melted butter. Mix them together well. You want a crumbly texture that sticks together. Now, take about 2 tablespoons of this mixture and press it into the bottom of each jar. This is your crust layer.
Making the Cheesecake Filling
In a separate mixing bowl, add the softened cream cheese and powdered sugar. Use an electric mixer to beat them until smooth. Next, pour in the vanilla extract and mix again. This adds a nice flavor to the filling.
Whipping the Cream
Now, take another bowl and pour in the heavy cream. Whip it until you see stiff peaks form. This means it should hold its shape. Gently fold the whipped cream into the cream cheese mixture. Be careful not to deflate the whipped cream. You want it light and fluffy.
Layering the Jars
It’s time to layer the jars. Spoon a layer of the cheesecake filling over the crust in each jar, filling them halfway. Then, sprinkle a layer of mini marshmallows and chocolate chips on top. This gives it that classic s’mores taste. Add another layer of cheesecake filling next. Finish with the remaining graham cracker crust on top.
Chilling the Cheesecakes
Cover the jars with lids or plastic wrap. Place them in the fridge for at least 2 hours. This helps the flavors mix and the cheesecake set properly.
Serving Suggestions
When ready to serve, you can toast the top layer of mini marshmallows. Use a kitchen torch for a nice char. If you don’t have that, just place the jars under a broiler for a few seconds. This gives a fun toasted effect. Top with chocolate shavings for a special touch.
Pro Tips
- Use Room Temperature Cream Cheese: This ensures a smoother cheesecake filling without any lumps, allowing for easy mixing.
- Chill Longer for Better Flavor: If you can, let the jars chill overnight. This will enhance the flavors and the texture of the cheesecake.
- Toast the Marshmallows Carefully: If using a kitchen torch, move it continuously to avoid burning the marshmallows. A few seconds is all you need for that perfect golden color.
- Experiment with Toppings: Try adding different toppings like crushed nuts or caramel drizzle for a unique twist on the classic s’mores flavor.
Tips & Tricks
How to Achieve the Perfect Whipped Cream
To get the best whipped cream, start with cold tools. Use a cold bowl and cold beaters. This helps the cream whip faster and better. Pour in the heavy cream and beat it on high speed. Look for stiff peaks. This takes about 3 to 5 minutes. Be careful not to over-whip it. Over-whipped cream can turn into butter. Gently fold the whipped cream into the cream cheese mix. This adds lightness without losing air.
Storing Leftovers Properly
If you have leftover cheesecake jars, store them in the fridge. Use an airtight container or cover the jars with plastic wrap. They stay fresh for up to three days. If you want to keep them longer, you can freeze them. Just make sure to use freezer-safe jars. To thaw, place them in the fridge overnight. This keeps the texture smooth.
Making the Perfect Graham Cracker Crust
For a great graham cracker crust, mix crumbs and melted butter well. You want it to feel like wet sand. If it’s too dry, add a bit more butter. Press the mixture firmly into the bottom of each jar. This helps the crust hold together. Chill the crust for a few minutes before adding the cheesecake filling. This sets the crust and keeps it from crumbling.
Variations
Chocolate Hazelnut S’mores Cheesecake Jars
You can make a chocolate hazelnut version by adding hazelnut spread. Just mix 1/4 cup of hazelnut spread into the cream cheese filling. This adds a rich, nutty flavor that pairs well with the chocolate and marshmallows.
Pumpkin Spice S’mores Cheesecake Jars
For a fall twist, use pumpkin puree and spices. Add 1/2 cup of pumpkin puree and 1 teaspoon of pumpkin pie spice to your cream cheese mixture. This gives the jars a warm, cozy flavor.
Vegan S’mores No Bake Cheesecake
You can also create a vegan version! Substitute cream cheese with vegan cream cheese. Use coconut cream instead of heavy cream. Replace the powdered sugar with powdered maple sugar if you like. This way, everyone can enjoy this tasty treat!
Storage Info
Refrigeration Guidelines
You must store the S’mores No Bake Cheesecake Jars in the fridge. Cover each jar tightly. This keeps the flavors fresh and the texture smooth. You can use a lid or plastic wrap. Be sure to chill them for at least two hours before serving.
Freezing Instructions
Freezing these jars is a great option for later treats. To freeze, first, make sure the jars are sealed well. You can use plastic wrap or a tight lid. Freeze them for up to three months. When ready to eat, thaw them in the fridge overnight.
How Long the Cheesecakes Last
These cheesecakes last for about five days in the fridge. After that, the texture may change. The flavors might not be as fresh. To enjoy them at their best, try to eat them within this time frame. If you freeze them, they can last longer and still taste great!
FAQs
Can I use a different type of cheese?
Yes, you can swap cream cheese for mascarpone. Mascarpone adds a rich flavor. It creates a creamier texture. You can also try ricotta. Ricotta will give a lighter touch. Just make sure it is well-drained.
How do I make this recipe gluten-free?
To make this dessert gluten-free, use gluten-free graham crackers. Many brands offer gluten-free options. Just check the package for the label. You can also make your own crust with ground nuts. Almonds or pecans can work well.
Can I prep these jars in advance?
Yes, you can prep these jars a day ahead. Just store them in the fridge. This helps the flavors blend nicely. They will taste even better after chilling overnight.
What if I don’t have a kitchen torch?
If you don’t have a kitchen torch, use your oven. Set the broiler to high. Place the jars on a baking sheet. Broil them for a few seconds. Keep an eye on them to avoid burning.
What are some serving ideas for S’mores No Bake Cheesecake Jars?
You can top them with extra mini marshmallows and chocolate shavings. Try adding crushed graham crackers for crunch. Serve with fresh berries for a fruity twist. You can also drizzle chocolate sauce on top. These ideas will make your jars more fun and tasty!
You’ve learned how to make delicious S’mores No Bake Cheesecake Jars. We covered the simple ingredients and step-by-step instructions for a tasty treat. I shared tips for perfect whipped cream and how to store leftovers. You also saw fun variations, like chocolate hazelnut and pumpkin spice. Remember, you can always prep these in advance for quick serving. Now, it’s your turn to enjoy this sweet dessert. Happy baking!


