
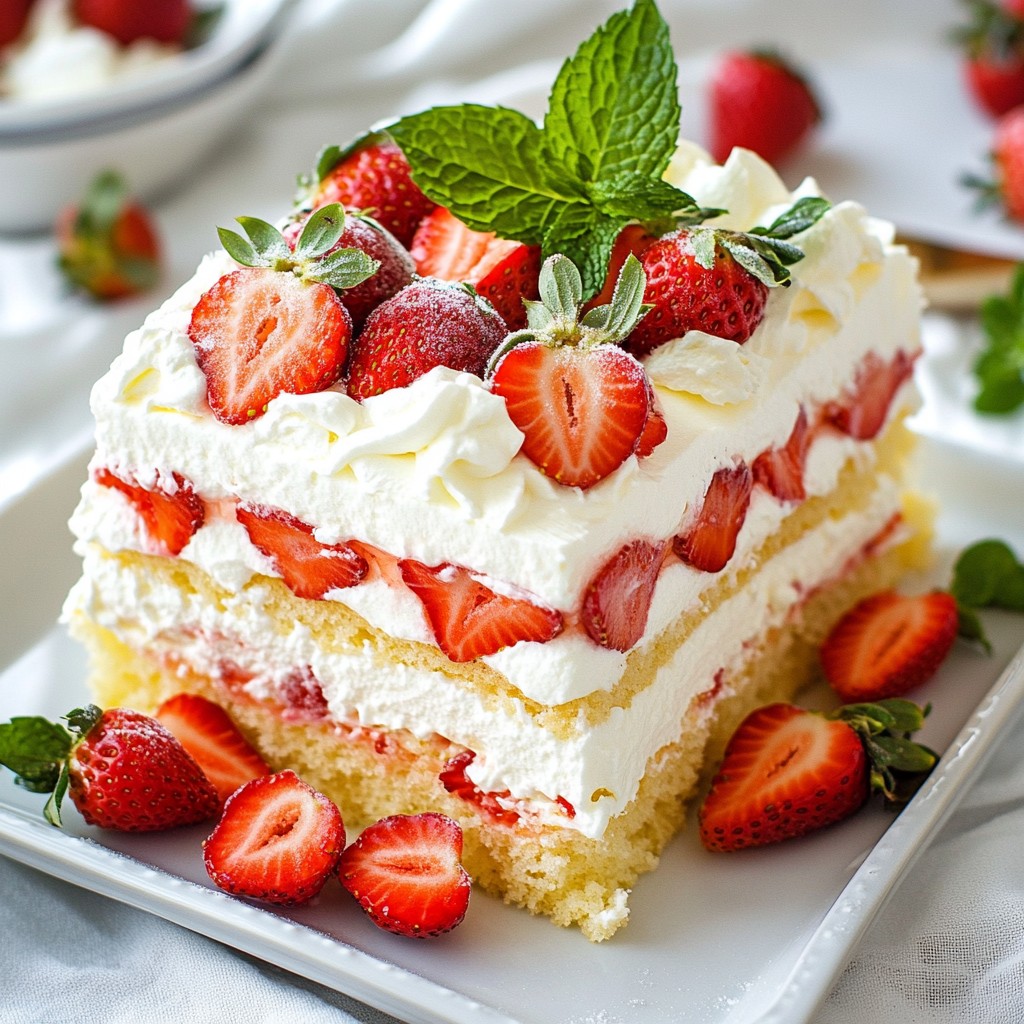
Ready for a cool summer treat? Strawberry Shortcake Icebox Cake is both easy and delicious! This no-bake dessert layers fresh strawberries, whipped cream, and sponge cake, making it the perfect way to beat the heat. In this guide, I'll share simple steps, tips, and tasty variations to help you create your own mouth-watering version. Let’s dive into the sweet, fruity fun of this delightful dessert!
Why I Love This Recipe
- Fresh and Fruity: This cake showcases the natural sweetness and tartness of fresh strawberries, making it a delightful summer treat.
- No-Bake Convenience: With no baking required, this icebox cake is easy to prepare, perfect for warm days when you want a cool dessert.
- Layered Delight: The combination of creamy whipped topping and soft cake creates a deliciously satisfying texture in every bite.
- Customizable Goodness: You can easily adapt this recipe by using different fruits or flavors, making it versatile for any occasion.
Ingredients
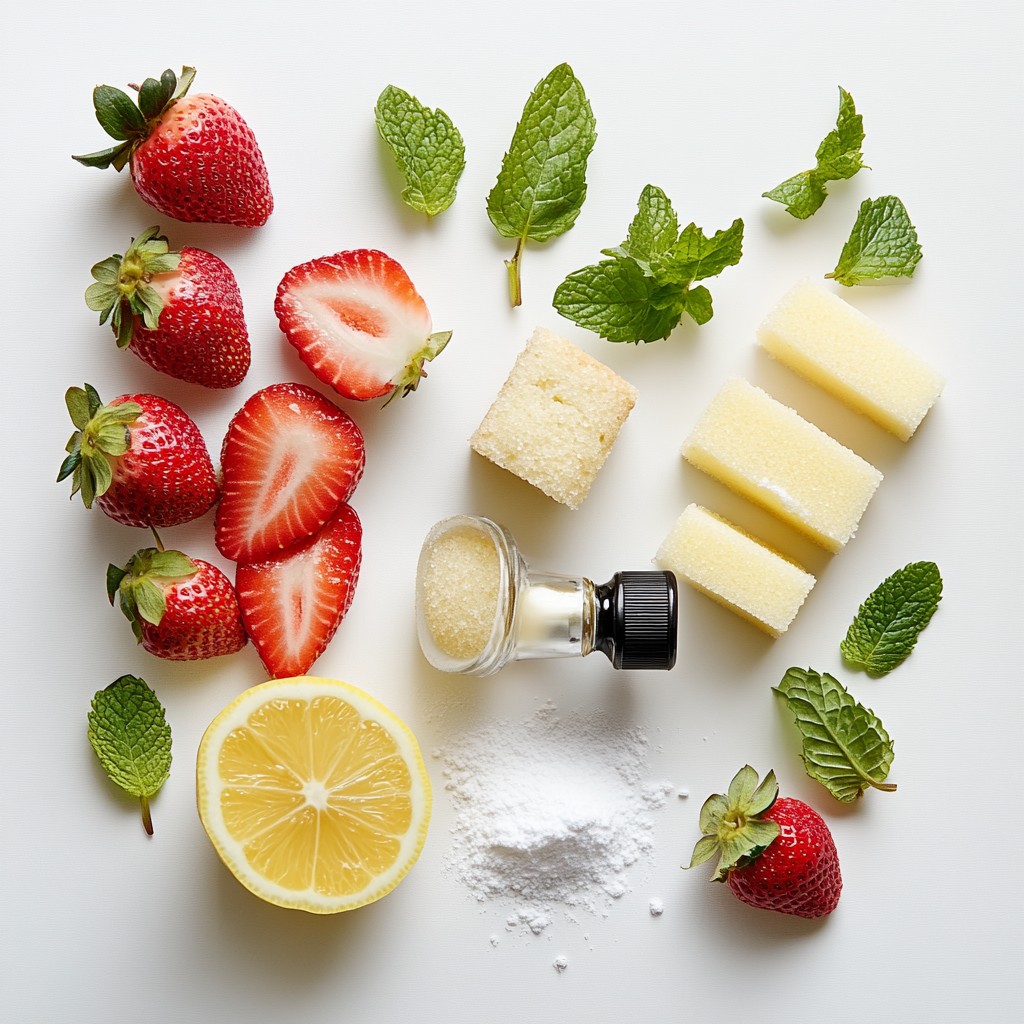
Fresh Ingredients for Strawberry Shortcake Icebox Cake
- 2 cups fresh strawberries, hulled and sliced
- 2 cups heavy whipping cream
Fresh strawberries give this cake its bright taste. Choose ripe, sweet ones for the best flavor. Heavy whipping cream is key for a fluffy texture. It makes the cake creamy and rich.
Sweeteners and Flavorings
- 1/4 cup granulated sugar
- 1/2 cup powdered sugar
- 1 teaspoon vanilla extract
- 1 teaspoon lemon juice
Granulated sugar helps the strawberries release juice. Powdered sugar adds sweetness to the whipped cream. Vanilla extract gives a warm flavor, while lemon juice adds a hint of brightness.
Cake Base
- 12 to 15 store-bought sponge cake or ladyfinger cookies
- Mint leaves for garnish (optional)
Using store-bought sponge cake or ladyfingers saves time. These cookies soak up the strawberry juice well. Mint leaves can add a nice touch on top for color and flavor.
Step-by-Step Instructions
Preparing the Strawberries
To macerate strawberries, start by slicing them. Place the sliced strawberries in a medium bowl. Add the granulated sugar and toss to coat. Let them sit for about 30 minutes. This time helps the strawberries release their juices and become sweeter. You can stir them once or twice during this time for even flavor.
Whipping the Cream
Whipping cream is key to this dessert. Use a large mixing bowl and pour in the heavy cream. Start whipping it until it thickens slightly. Gradually add the powdered sugar and lemon juice as you whip. Keep going until soft peaks form. This means the cream holds its shape but is still light. Finally, add the vanilla extract and mix until combined.
Assembling the Cake
Now comes the fun part: layering! Grab your 9x9-inch baking dish. Start with a layer of sponge cake or ladyfinger cookies at the bottom. Spoon a layer of whipped cream over the cookies, spreading it evenly. Next, add a layer of macerated strawberries on top. Repeat this process, starting with cookies, then whipped cream, and strawberries until all ingredients are used. Finish with a layer of whipped cream on top for a nice finish. Cover the dish with plastic wrap. Refrigerate for at least 4 hours, or overnight if you have time. This waiting lets the cake soften and the flavors blend beautifully.
Tips & Tricks
Best Practices for Whipping Cream
- Use chilled utensils like bowls and beaters. This helps the cream whip faster.
- Do not over-whip the cream. Stop when soft peaks form. If you whip too long, it turns into butter.
Layering Techniques
- To prevent soggy layers, use a light hand when layering. Spoon the cream gently on the cookies. This keeps them from getting too wet.
- Ensure even flavor distribution by spreading the whipped cream and strawberries evenly. This way, each bite tastes great.
Presentation Suggestions
- Get creative with your garnishing. Add fresh mint leaves and extra strawberries on top. This makes your cake look special.
- Serve it chilled right from the fridge. Use a sharp knife for clean slices. This gives each serving a nice look.
Pro Tips
- Choose Ripe Strawberries: Look for strawberries that are bright red and fragrant. They will provide the best flavor and sweetness for your icebox cake.
- Chill Your Mixing Bowl: For a fluffier whipped cream, chill your mixing bowl and beaters in the freezer for about 10-15 minutes before whipping the cream.
- Layering Technique: Ensure your layers are even by using a spatula to spread the whipped cream mixture and strawberries evenly over the cookies.
- Overnight Refrigeration: Allowing the cake to refrigerate overnight deepens the flavors and softens the cookies, creating a more cohesive dessert.
Variations
Flavor Additions
You can change up the fruit in this cake. Try using blueberries or raspberries. Each fruit brings its unique taste. You can even mix fruits for a fun twist. For the cream, add a splash of almond extract. This can give your cake a nice new flavor. You can also fold in cocoa powder for a chocolate cream. It adds richness to the cake.
Dietary Substitutions
If you need a gluten-free option, switch the sponge cake. Use gluten-free ladyfingers instead. They work just as well and taste great. For those avoiding dairy, choose lactose-free cream. It whips up nicely and tastes just like regular cream. These simple swaps let everyone enjoy this treat!
Seasonal Adaptations
Use whatever berries are in season. Fresh peaches or cherries can also shine in this cake. They add a sweet, juicy taste. You can spice things up with cinnamon or nutmeg. A hint of these spices can really elevate the flavor. Get creative and enjoy the flavors of each season!
Storage Info
Best Way to Store Icebox Cake
To keep your strawberry shortcake icebox cake fresh, store it in the fridge. Use an airtight container or cover it tightly with plastic wrap. This helps to keep the cake moist. Make sure to place the cake on a flat surface to avoid squishing the layers. To keep the layers intact, avoid slicing until you are ready to serve. This helps the cake hold its shape longer.
Freezing Options
You can freeze strawberry shortcake icebox cake! Just make sure to cover it well in plastic wrap and then foil. This prevents freezer burn. When it's time to eat, thaw the cake in the fridge overnight. This gives it the best flavor and texture. Avoid leaving it out at room temperature while thawing, as this can make the layers soggy.
Shelf Life
In the fridge, this cake can last about 3 to 5 days. Check for any signs of spoilage, like a sour smell or mold. If you see these signs, it’s best to toss it. Fresh strawberries can spoil faster, so always check them before serving. Enjoy your cake while it's fresh for the best taste!
FAQs
What is an icebox cake?
An icebox cake is a no-bake dessert. It uses layers of cookies or cake, cream, and fruit. You layer these ingredients in a dish and chill it in the fridge. The chilling softens the cookies and melds the flavors. This cake is easy to make and perfect for summer.
Can I use frozen strawberries?
Yes, you can use frozen strawberries. Just thaw them before use. Slice and drain excess juice. This will keep your layers from getting too soggy. Fresh strawberries taste best, but frozen ones work well in a pinch.
How can I make this gluten-free?
To make this cake gluten-free, swap out the cookies. Use gluten-free ladyfinger cookies or gluten-free sponge cake. Always check labels to ensure they are certified gluten-free. This way, everyone can enjoy this treat!
In this post, we explored how to make a delicious Strawberry Shortcake Icebox Cake. You learned about the fresh ingredients, steps to prepare and layer the cake, and tips for perfect whipping. We also shared creative variations and storage methods. Remember, you can adapt this dessert to fit your taste or diet. Enjoy experimenting with different flavors and share your tasty results! This treat will brighten any gathering. Trust me; you won't regret making this perfect summer dessert.


